In the injection molding process, the importance of the sprue cannot be overlooked, as it serves as a bridge connecting the nozzle of the injection machine to the mold cavity. The design and placement of the sprue play a crucial role. A well-designed sprue and appropriate placement facilitate the uniform flow of molten plastic, effectively preventing or minimizing common injection molding defects such as voids, sink marks, and warping.
What Is Sprue In Injection Molding

The sprue is a crucial component in the injection molding process, serving as the initial vertical channel for introducing liquid plastic material (such as abs or nylon) into the mold. Its primary role is to establish a smooth and controlled flow of material from the pouring basin to the runner system, ensuring an even distribution throughout the mold.
During the injection phase, the sprue plays a vital role in regulating the flow rate and pressure of the molten plastic, preventing excessive turbulence or the formation of air bubbles that could compromise the quality of the final product. By design, the sprue is typically tapered downwards, further enhancing the flow stability and minimizing any potential for imperfections in the molded part.
Once the molding cycle is complete and the plastic has cooled and solidified, the sprue becomes an integral part of the molded piece. However, it is often necessary to remove the sprue from the finished part as it serves no functional purpose in the end product. This process, known as sprue trimming, ensures that only the desired features and dimensions of the molded part remain.
Why Is Sprue Location Important?
The sprue location directly affects the flowability and fillability of the plastic material. A proper sprue location ensures that molten plastic flows into the mold cavity evenly at the appropriate speed and pressure, thus adequately filling all features and details of the part. Conversely, improper sprue location selection may result in poor plastic flow, leading to incomplete filling, voids, sink marks, and other defects.
In injection molding, plastic material solidifies as it cools from its molten state, and the cooling rate is influenced by factors such as mold temperature, type of plastic, and sprue location. A suitable sprue location ensures uniform cooling within the mold, avoiding issues like warping and deformation.
sprue location also affects part ejection and subsequent processing. During injection molding, the sprue is typically attached to the part and needs to be removed after molding. Improper sprue location can increase ejection difficulty and even cause damage to the part.
Furthermore, plastic material releases gas during the flow process. Improper sprue location may hinder gas release, resulting in excessive gas accumulation in the mold cavity, which can affect plastic flow and filling efficiency.
In addition to considering flowability and cooling, various factors such as functional requirements, aesthetic demands, and mold processing requirements need to be taken into account. For instance, for products with high aesthetic requirements, sprue locations should be as inconspicuous as possible to minimize their impact on product appearance. For products with high functional demands, sprue location selection should ensure that the product is not adversely affected by sprue residue during use.
The Sprue location needs to meet the following five requirements:
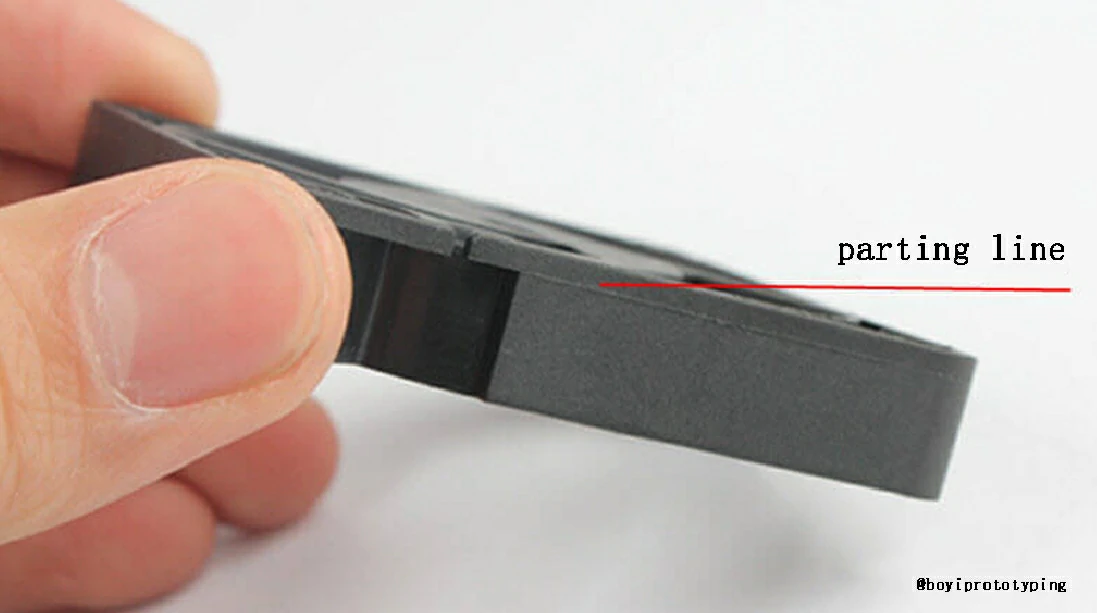
1) Aesthetic requirements (sprue marks, weld lines)
2) Product functional requirements
3) Mold processing requirements
4) Product warpage and deformation
5) Ease of sprue removal during molding process

Tips For Selecting Sprue Position
Place the sprue at the thickest part of the product to provide optimal filling and packing effects. Spruing from the thickest part ensures better packing because if the packing pressure is insufficient, thinner areas may solidify faster than thicker ones. Avoid placing the sprue at abrupt changes in thickness to prevent hesitation or short shot occurrences.
Whenever possible, sprue from the center of the product. Placing the sprue at the center provides equal flow lengths, which affect the required injection pressure. Central spruing ensures uniform packing pressure in all directions, avoiding uneven volumetric shrinkage.
Methods For Designing Sprues
There are no strict rules for sprue design, mostly relying on experience. However, two basic elements need to be considered:
- The cross-sectional area of the sprue should be as large as possible, while the length of the runner should be as short as possible to reduce pressure loss when the plastic passes through.
- The sprue should be narrow to facilitate solidification and prevent excessive plastic flowback. Therefore, the sprue is usually located in the center of the runner, and its cross-section should be as circular as possible. However, the opening and closing of the sprue are usually determined by the mold design.
Key points for sprue design can be summarized as follows:
- Place the sprue in the thickest part of the plastic part’s cross-section to ensure complete filling by allowing the molten material to flow from thick to thin sections.
- Select the sprue position to minimize the flow length of the plastic, reducing pressure loss.
- Choose the sprue position to facilitate the removal of air from the mold cavity.
- Avoid directing molten material directly into the mold cavity to prevent vortex formation, which can leave spiral marks on the part, especially with narrow sprues.
- Select the sprue position to prevent the formation of weld lines on the plastic surface. In particular, in circular or cylindrical parts, add cold slug wells at the melt convergence point on the sprue surface.
- For injection molds with long and thin cores, place the sprue away from the core to prevent deformation caused by material flow impact.
- For large or flat plastic parts, consider using compound sprues to prevent warping, deformation, or incomplete filling.
- Place the sprue in a position that does not affect the appearance of the plastic part, such as at the bottom of the edge.
- The size of the sprue depends on the size, shape of the part, and properties of the plastic.
- When designing multi-cavity molds, consider the balance of the sprue in conjunction with the balance of the runner to achieve uniform and simultaneous filling of the molten material.
Exact Method Of Utilizing Sprue In Injection Molding
Step 1: Preparation
- Before starting the injection molding process, it is essential to ensure that the mold is clean and free of debris or fragments.
- The mold must be properly aligned and securely clamped onto the molding machine.
- The sprues (also known as the inlet) needs to be precisely connected to the mold’s gating system to ensure smooth flow of molten plastic into the mold cavity.
Step 2: Injection
- Once the mold is ready, the injection molding machine begins its operation. The machine injects molten plastic into the mold cavity through the nozzle, runner system, and the sprues .
- During the injection process, precise control of injection speed, pressure, and temperature is crucial to ensure uniform and complete filling of the mold cavity.
Step 3: Packing and Cooling
- After the molten plastic fills the mold cavity, the molding machine maintains a certain pressure (packing pressure) to prevent defects caused by plastic shrinkage during cooling.
- Subsequently, the mold begins to cool, allowing the molten plastic to gradually solidify. The cooling process may take several seconds to minutes, depending on the type of plastic, mold size, and complexity.
Step 4: Ejection and Trimming
- Once the plastic has completely solidified, the mold opens, and the finished part ejects from the mold.
- At this point, the portion of the sprues that is attached to the finished part needs to be trimmed off. This is typically done using specialized cutting tools or manually.
- The trimmed part can then undergo further processing, such as deburring, cleaning, and inspection.
Step 5: Cleanup and Preparation for the Next Cycle
- After completing an injection molding cycle, the mold needs to be cleaned to remove any residual plastic or debris.
- Once cleaned, the mold needs to be prepared again for the next injection molding operation. This includes repositioning the sprues and ensuring that other parts of the mold are also in optimal condition.
What Sprue Is Right For You?
Choosing the right sprue depends on various factors, primarily the material being used and the characteristics of the product being manufactured. For instance, if you’re working with ABS, a common injection molding material, you’ll likely need larger runners compared to materials like nylon. Additionally, the size and thickness of the product play a significant role in determining the appropriate design for your runners.
For larger cavities, it’s essential to have larger and more precisely designed sprues . These sprues act as the final channel through which plastic flows into the mold, ensuring proper filling and quality of the final product. Therefore, when selecting the sprue design, consider the material properties, product size, thickness, and the required precision of the gating system.
Conclusion
In summary, the sprue is a critical element in the injection molding process, facilitating the controlled introduction of molten plastic into the mold and ultimately contributing to the quality and integrity of the finished product.
Experience BOYI Injection Molding Services
All uploads are secure and confidential.
FAQ
The sprue is the main channel, resembling a water main, that carries molten plastic to the mold. The runner, like a smaller pipe, directs the plastic from the sprue to each individual part. The gate, the point where plastic enters the mold cavity, often leaves a small mark on the finished product, akin to a signature of its passage.
The term “sprue” originates from an unknown source, dating back to around 1830, and refers to the opening through which molten material such as metal or plastic is poured into a mold. Its name likely reflects its function as a channel for the flow of molten material into the mold cavity.
A sprue mold refers to the design and structure that includes the sprue, which is a large vertical channel for introducing liquid material into the mold. It connects the pouring basin to the runner system, regulating the flow of material into the mold cavity.
Tagged: Injection Molding Guide

This article was written by engineers from the BOYI team. Fuquan Chen is a professional engineer and technical expert with 20 years of experience in rapid prototyping, mold manufacturing, and plastic injection molding.